PAVING TIPS
 Nation wide delivery
 Quality Slate
 Made to Measure
See the tools, materials and maintenance products you will need to install your new paving and how to fit them
Preparation
It is essential that all products should be inspected on receipt of delivery and inform Grey Grey Slate & Stone Ltd of any damaged products within the specified time given so that we can arrange replacement. We will not accept any responsibility for any additional cost for re-laying, delays or removing cost if this has not been done.
Protective Clothing & Essential Tools
For a professional look to your paving we recommend that the following tools are used and for Health & Safety reasons the protective clothing are worn: Goggles, gloves, knee pads, shovel, brick trowel, pointing trowel, rubber mallet, lump hammer, string line, stakes, spirit level, soft brush, tape measure, straightedge timber, wheelbarrow, cement mixer, angle grinder and plate compactor. If you are only planning a single project, you may consider contacting our local Tool Hire firm for advice to which tools you could hire
Water drainage and how to create a fall
Paving should be laid with a slope to create a fall for water to run off the surface in to the gully, linear drain or run off in to the garden. Water should all ways run away from any buildings. Natural Slate paving will have a riven textured surface water can sit on this type of surface more easily due to its natural surface. Natural slate should be laid with a fall of no less than 1:60 this might be no less than 1cm in 60cm or 1 meter in every 60 meters, this will generate a fall of 1:60 (or 17mm in meter) When setting levels away from buildings a string line and stakes are advised, it’s a good way of setting both levels and alignment. The best way to create an accurate 90deg right angle from the building is to use 3-4-5 method.
Base
The strength of the base varies based on each project e.g. driveways, paths or terraces. The depth and strength depends on the project type for example a driveway would require 100mm thick concrete base layer and walk ways or projects that require light traffic can be laid on top of a 60mm screed or mortar both options will also need to be strengthened with a sub layer made from hardcore sub-base compacted prior to both options.
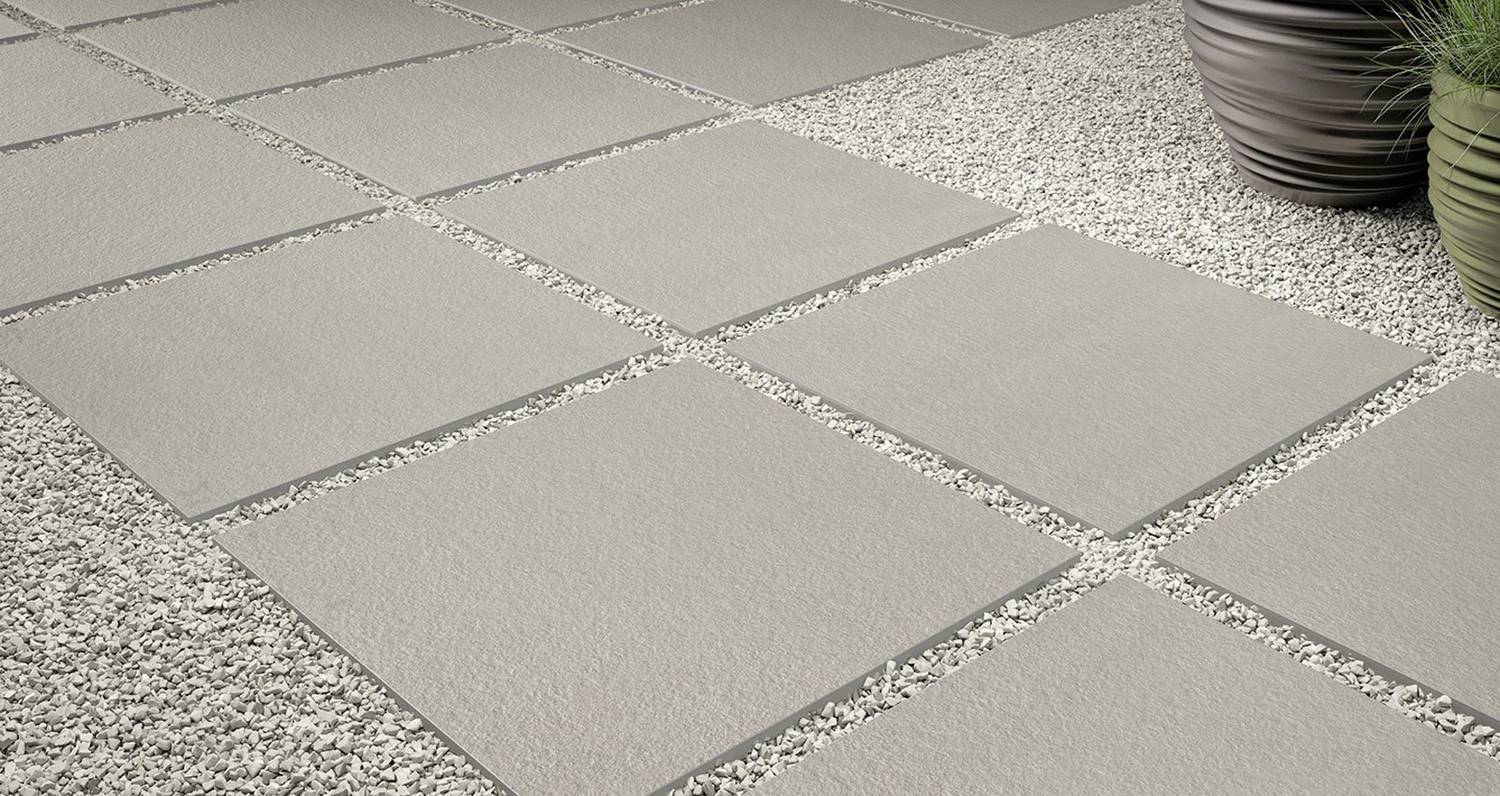
Types of paving
We supply one type of paving, calibrated. Our natural paving is carefully selected with a tolerance that’s between 18-20mm thickness that has a gauged calibrated underside for laying, while our porcelain paving is exactly 20mm. For best results we recommend our natural paving to be laid on sharp sand and cement mix pre-levelled (screeded) Or with Ultra pro grip adhesive for concrete solid construction.
Bedding Mix
Sharp sand and cement should be used, the mix consists of 5 shovels of sand and one cement well mixed the mixture should be damp but not wet semi dry or moist mix, the exact amount of water should be judged by how damp your sand is prior to mixing care should be taken not to add to much water, your mix should hold together when clinched with no water running out. Working life will depend on the weather conditions if it’s a hot day your mix will go off quickly on a typical British summer day then the mix should last 1-2 hours.
Working with screed
To prepare the screed, it should be spread evenly covering approx. 1-2m2 area each time, with a bed thickness of approx. 50-60mm and ‘screeded’ off with a long straight edge tool working to your levels each time e.g. kerbs or rail points. Each piece should be laid on top of the screed and taped down using a rubber mallet until the screed has compacted, care must be taken and levels should all ways be checked.
Working with adhesive
Install the slabs using an outdoor adhesive, following the specific instructions for the adhesive used (C2S2 under EN 12004). To ensure that the laying material is evenly compacted, the double coating method should be used (this method is necessary for pavings exposed to high levels of stress). Slabs must be laid with open joints of variable width of no less than 5 mm. Class 2 cement grouting materials must be used (CG2 under EN 13888).
- Expansion joints are compulsory: they must be at least 5 mm wide (except for structural joints) and must reach up to the top of the paving surface.
- Seismic joints must form a square or rectangular grid across the surface, with ratio between the sides not exceeding 1.5 m. Grid sizes are normally between 3x3 m and 4x2.5 m.
- Perimeter joints must be provided at points where the paving meets walls, steps, raised areas, pillars etc., where compressible material (e.g. polystyrene) must be added.
Bonding Primer
We recommend slurry primer to increase its adhesive properties, this is done by purchasing our prime + grip primer, paint on to the back of product, care should be taken with the mix if any of this mix should get in contact with the surface of the product then please dilute with water ASAP note that working gloves should also be used.
Cleaning
Post clean must be done with DETERDEX cleaner, this will eliminate the buiders dirt. Cleaning after laying is of fundamental importance for all subsequent procedures and to allow correct maintenance of the paving. It is also very important to clean your tools regularly and to avoid build up of muc on the surface.